During our bi-weekly Zwift group rides, our riders can also choose to do a workout. This is entirely optional and irrespective of whether they do a workout or don’t, we will all stay together. Even if riders start the workout and decide during the ride that its not for them, they can ignore the on-screen workout prompts and just carry on riding as normal.
If this is something you’re interested in, the following will explain the steps to take…
Step 1 – load the Sotonia Youth workouts onto your Zwift account (needs to be done in advance of the first ride).
- Zwift workouts are simple ‘.zwo’ files, and ours (Sot Yth) are stored at https://drive.google.com/drive/folders/1ipgKNUp4tiTIbi_tyn4c8DV3IykzJmWJ?usp=sharing.
- Download all the files to your PC/MAC (at the time of writing there are 4 workouts but this will be expanded), and add to your Zwift workout library by moving them to your ‘Documents\Zwift\Workouts\<<Numeric Zwift ID>> folder’.
- If multiple Zwifters access the platform on your device, there will be multiple Numeric Zwift ID folders visible. Either copy the files into everyone’s folder (easiest option), or click here to find out each riders Numeric Zwift ID https://zwiftinsider.com/find-zwift-id.
- If you’re using an iOS device, this article explains how to access your custom workouts folder.
- Next time you launch Zwift all the Sotonia Youth workouts will appear in the custom workouts menu.
Step 2 – selecting a workout
- Before a group meet up (Mon & Thurs), we’ll let everyone know what number workout (e.g. W2) we’re going to use that night (via Facebook and/or the invite on the Zwift Companion App).
- Join the group meet-up in exactly the same way as usual, but whilst you’re sitting on the turbo trainer waiting for it to begin, click ‘Menu>Workouts’ or hit ‘E’ on your keyboard to open the workout picker window.
- The Sotonia Youth workouts that you loaded in step 1 will be in the custom workouts menu
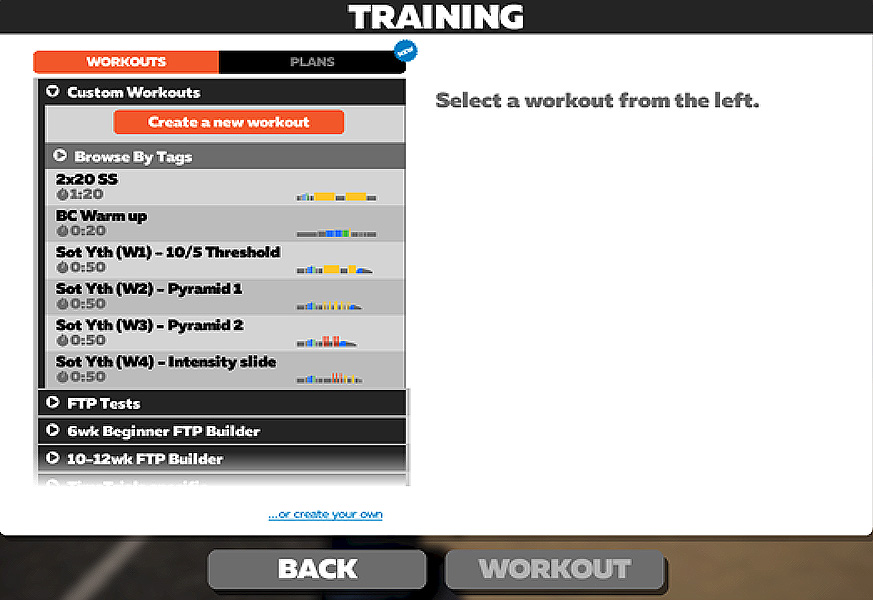
- Choose the correct workout, click ‘Workout’>’Back’ and you’re ready to go!
- You’ll now see the workout plan on the left of the screen, and if you’re using the Zwift Companion App a new option (Workout) will appear at the bottom of the screen.
Step 3 – adjusting the difficulty of the workout (optional)
- If you feel at any point that the workout is too hard or easy (although remember that the first 20 minutes is a gradual warm-up) you can adjust the difficulty either before the ride, or on during it. This can be done either on the PC/MAC or using the Zwift Companion App
- PC/MAC – look at the workout breakdown on the left side of the screen. Beneath the list of workout details, you’ll see ‘100%’ sandwiched between up and down arrows.
- Click on the arrows to either increase or decrease the difficulty of every block of the workout, by as much as 10%. Similar controls appear on Zwift’s blue ‘Action Bar’, which is accessible on your laptop (by tapping your keyboard’s “up” arrow)
- Zwift Companion App – On the ‘Workout’ option, adjust the ‘bias’ either up or down.
Finally!!
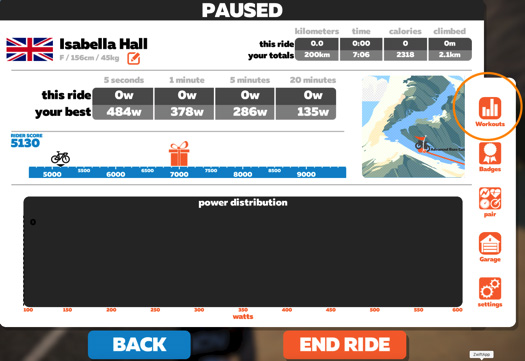
Unless you’ve done an FTP test with a smart trainer/power meter, the value assigned to you by Zwift will not be accurate, but as long as you set up your trainer consistently (including tyre pressure) these workouts should be pitched about right for everybody (workouts are set as a % of riders FTP). However, if you’re finding the workouts consistently too hard (or easy) then this is a sign that your Zwift FTP is either too high or low. This can be easily be adjusted by clicking on the pencil icon ![]() under your name and changing the FTP value.
under your name and changing the FTP value.
ENJOY!!